18 NR900X Series Hard Drive Installation
Your NVR comes with a pre-installed hard drive, which you can replace or upgrade with a larger hard drive. Review the technical
specifications section for the maximum hard drive size supported by your unit.
18.1 Installing a Hard Drive
-
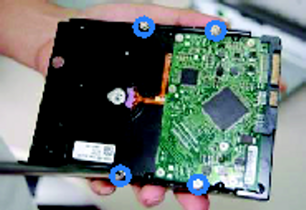
Insert hard drive screws (4×) on the hard drive and tighten them half way.
- Power off the system, and unplug all cabling from the system.
-
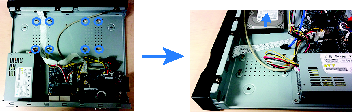
Remove the rear panel screws (4×). Remove the cover.

-
Place the hard drive over one of the sets of screw slots on the bottom of the system and then slide the hard drive into place.
The SATA connectors on the hard drive should face the center of the unit.
-
Turn the system over carefully. Tighten the hard drive screws (4×) to secure the hard drive.

-
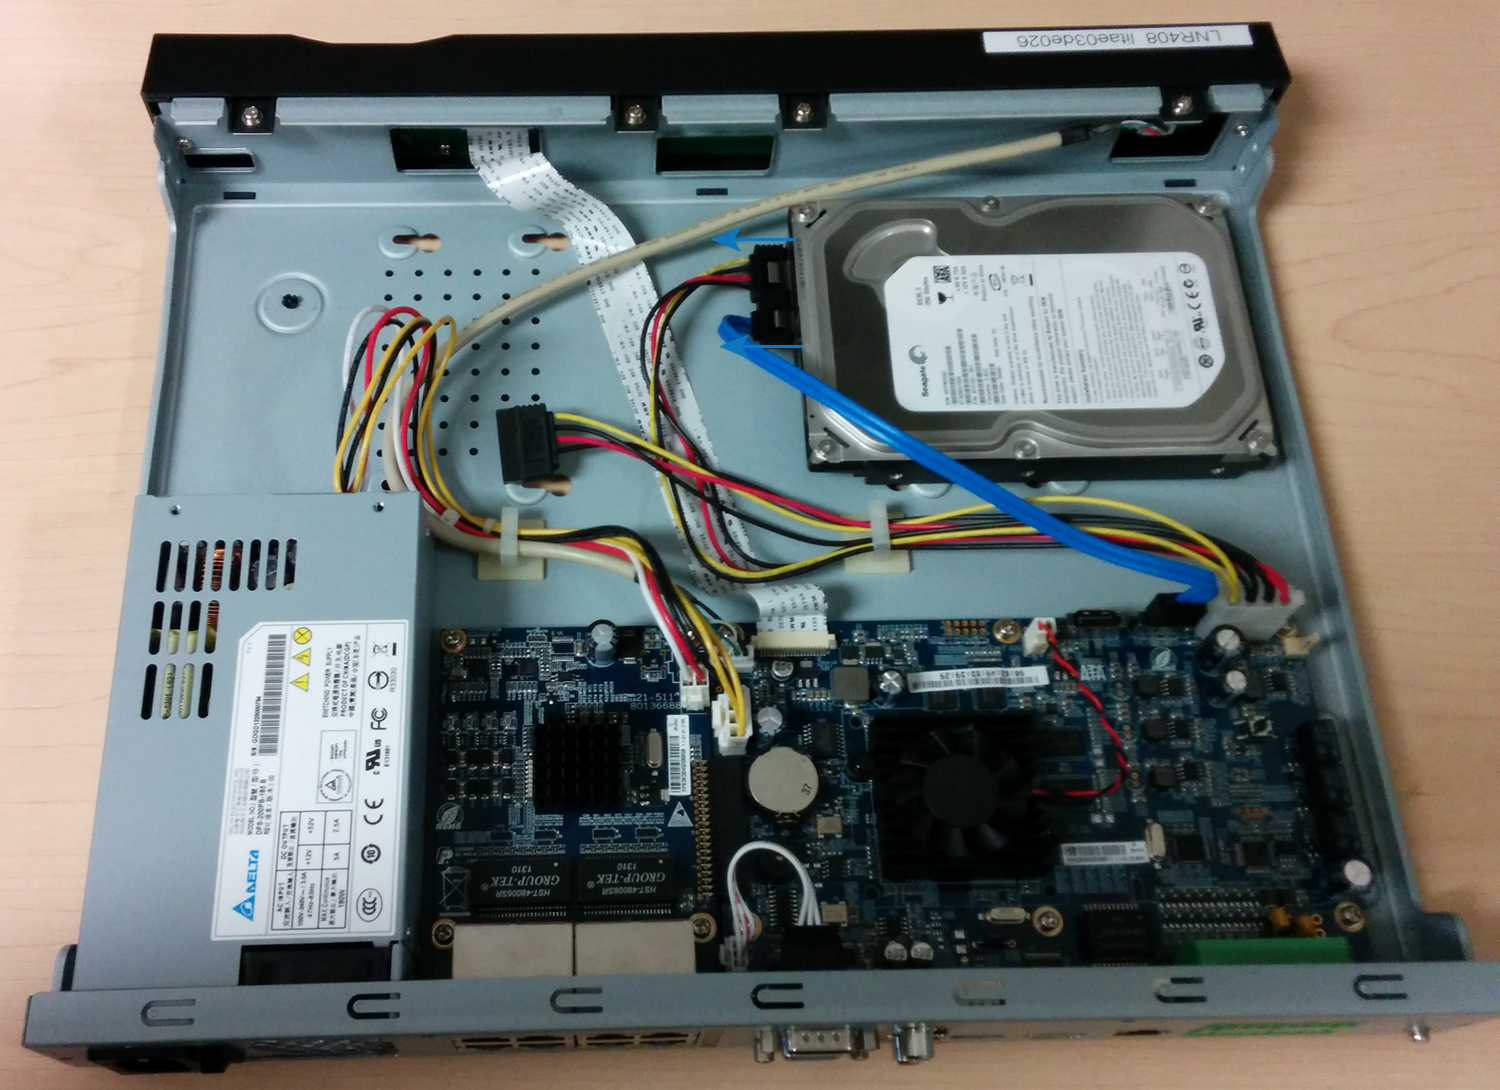
Connect the SATA power and data cable to the hard drive.

- Replace the cover and cover screws (4×).
To install the hard drive:
18.2 Removing the Hard Drive
- Power off the system, and unplug all cabling from the system.
-
Remove the rear panel screws (4×). Remove the cover.
-
Turn the system over and loosen the hard drive screws (4×), but do not remove them.
-
Disconnect the SATA power and data cable from the hard drive.
-
Carefully turn the system over. Slide the hard drive and then lift it out of the system.
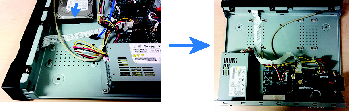
- Replace the cover and cover screws (4×).
18.3 Formatting Hard Drives
You must format hard drives before you may use them with the system.
To format the hard drive:
-
From the Main Menu, click
 and then click Storage>HDD Manager.
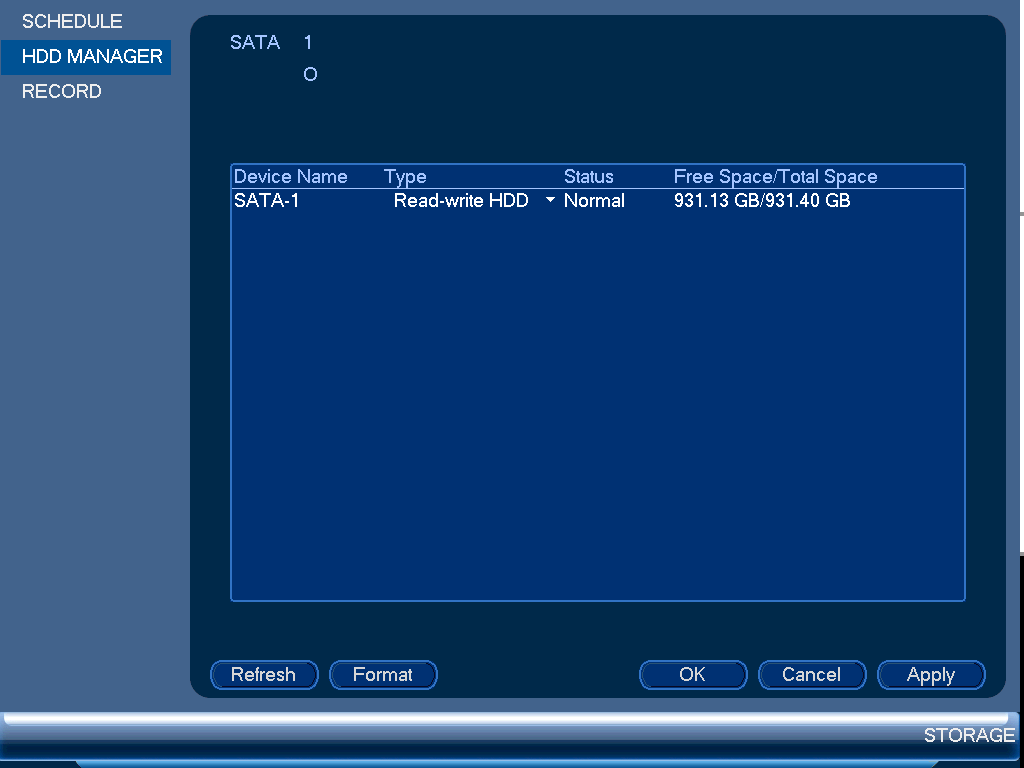
- Select the hard dive you would like to format and then click Format. Click OK to confirm.
- Click OK to save changes. The system will restart to complete the formatting process.