19 DDNS Setup (Advanced)
Setting up DDNS connectivity allows you to view your DVR from any computer or compatible mobile device with Internet access.
19.1 STEP 1: Port Forwarding
You must port forward the HTTP and Client ports (default: 80 and 9000) on your router to your DVR’s IP address before you can remotely connect to your system. There are several methods to port forward your router:
- Use the Easy Connect Auto Port Forwarding Wizard (PC only) to port forward the required ports (see www.lorextechnology.com for details). For instructions on how to use the Easy Connect Wizard, see the Easy Connect manual on www.lorextechnology.com .
- Manually port forward the required ports on your router to your DVR’s IP address by following your router manufacturer’s instructions. For more information on port forwarding, see the reference guides on www.lorextechnology.com .
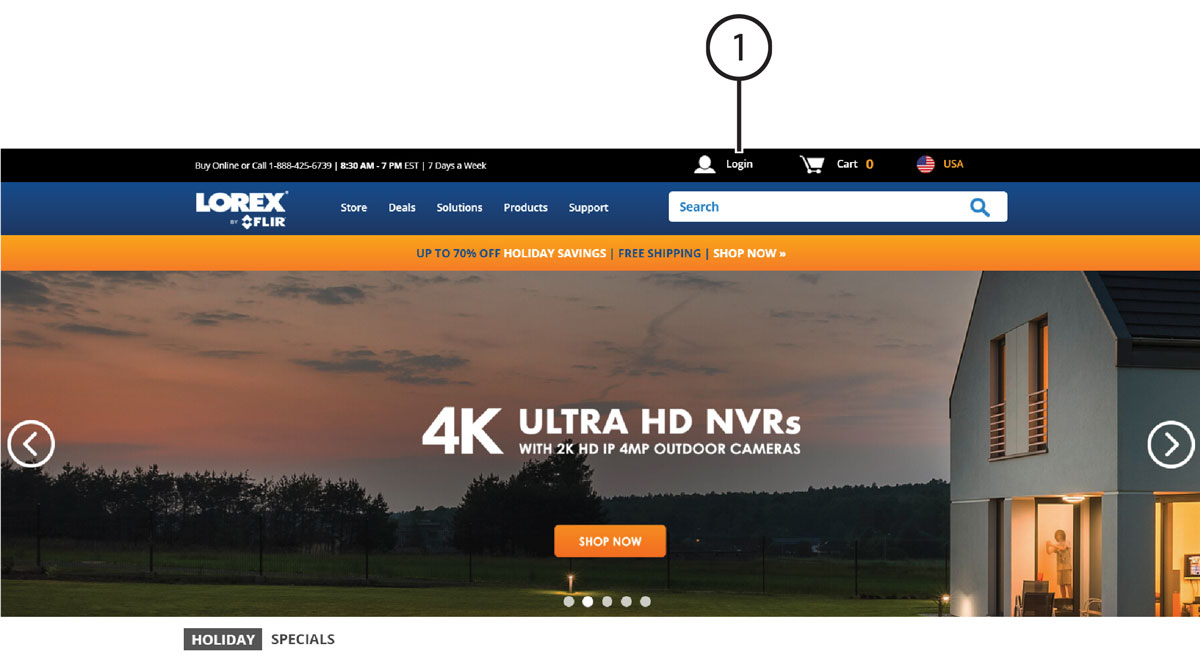
19.2 STEP 2: Create a LOREX Account
-
Visit
lorextechnology.com
and click Login at the top of the page.
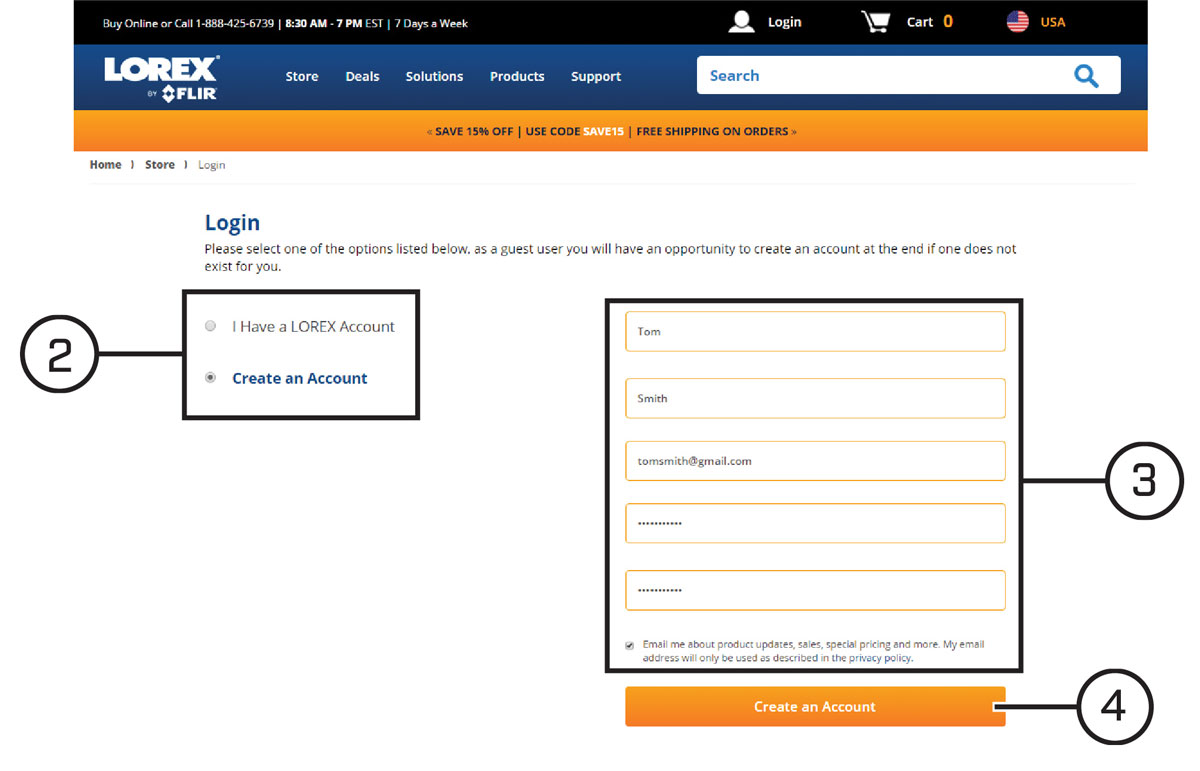
- Select Create an Account.
- Enter basic information for account setup.
- Click Create an Account.
19.3 STEP 3: Add Your Address
Once you have a LOREX account, you must add your address to the account.
Adding an address is required for warranty activation, which is needed before you can sign up for a DDNS account.
To add your address to your LOREX account:
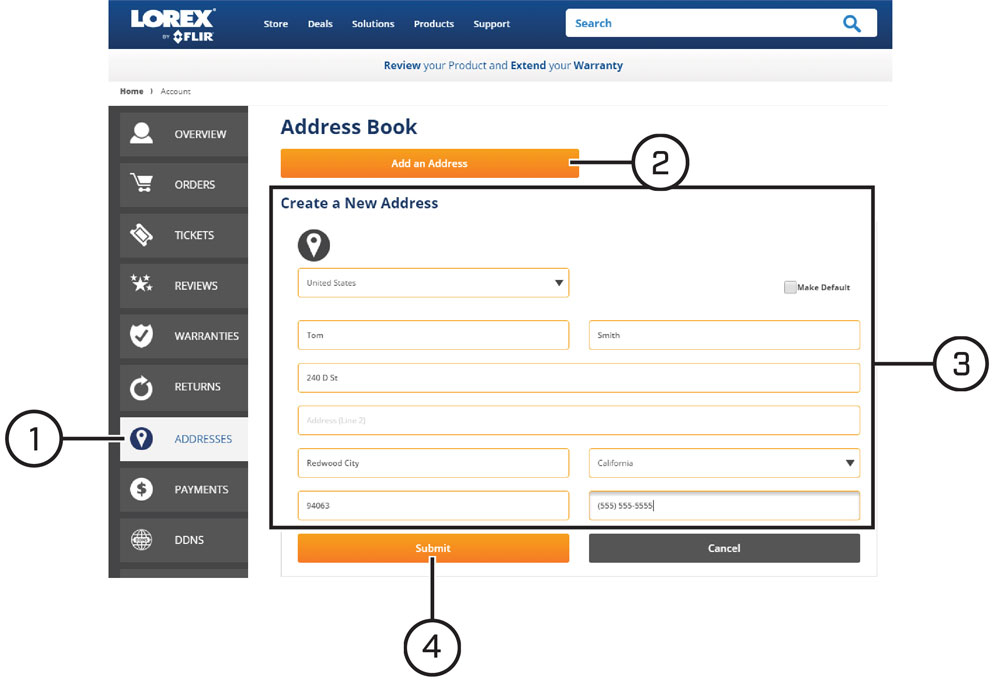
- From your LOREX account, click the ADDRESSES tab.
- Click Add an Address.
- Enter your address information.
-
Click Submit.
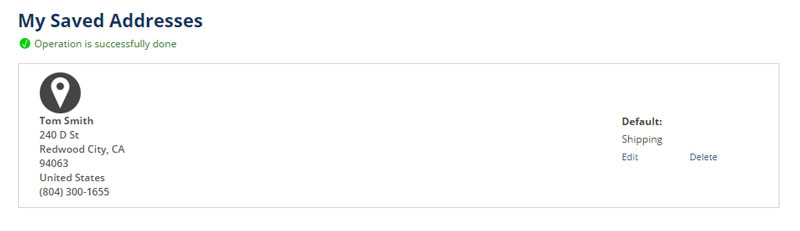
Once submitted, your address information will be summarized under My Saved Addresses.
19.4 STEP 4: Activate Your Warranty
Activate the manufacturer’s warranty on your DVR.
To activate your product warranty:
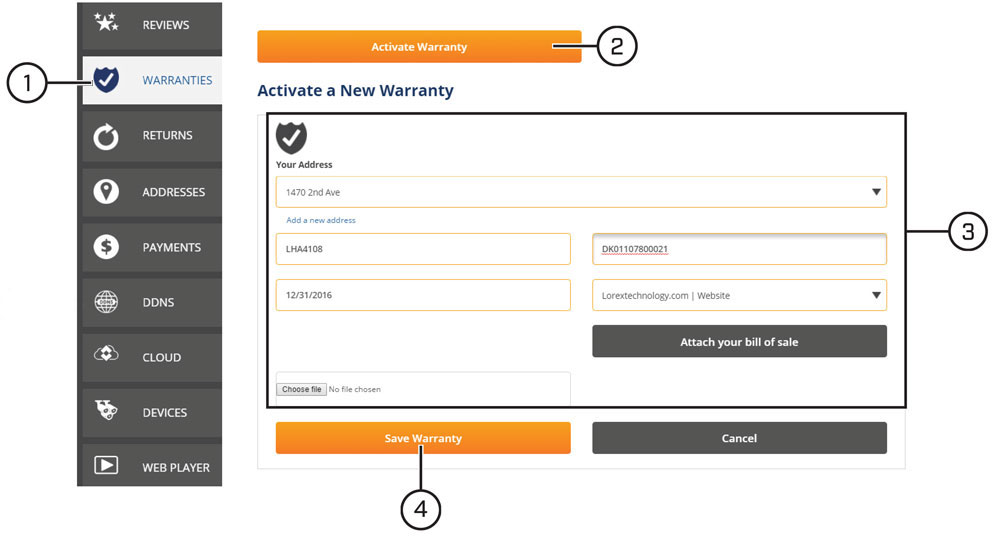
- From your LOREX account, click the WARRANTIES tab.
- Click Activate Warranty.
- Select your address from the dropdown under Your Address. Enter the rest of your product information (attaching bill of sale optional).
-
Click Save Warranty.
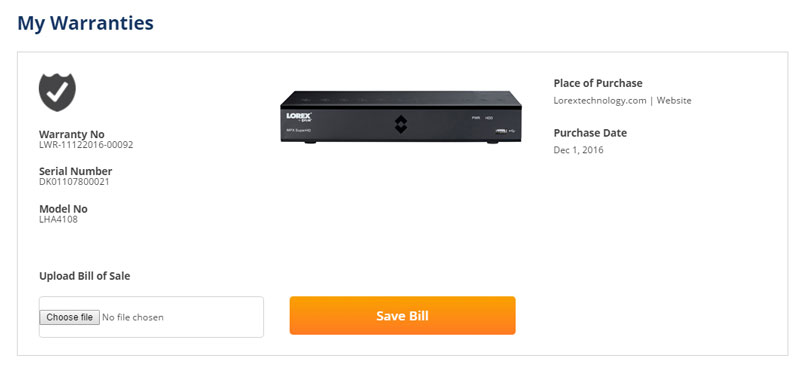
Once submitted, your warranty information will be summarized under My Warranties.
19.5 STEP 5: Sign Up for a DDNS Account
Activate the manufacturer’s warranty on your DVR.
To sign up for a DDNS account:
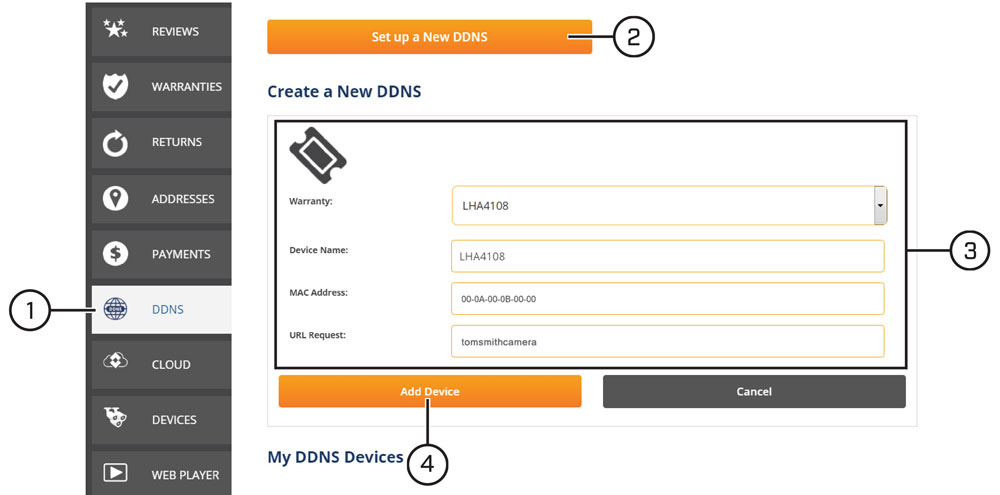
- From your LOREX account, click the DDNS tab.
- Click Set up a New DDNS.
- Select your DVR warranty from the dropdown next to Warranty. Enter the rest of your product information.
-
Click Add Device.
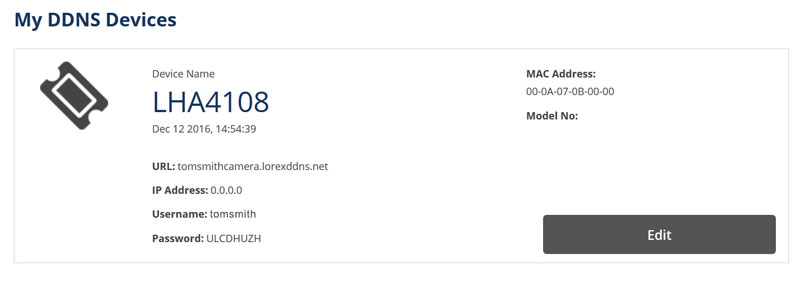
Once submitted, your DDNS account information will be summarized under My DDNS Devices. Make a note of your DDNS URL, Username and Password, as they will be needed to complete DDNS setup.
19.6 STEP 6: Enable DDNS on the DVR
For full instructions, see
12.2.18 Configuring DDNS Settings
.
19.7 STEP 7: Connect to the DVR’s DDNS Address
Prerequisites:
- Install FLIR Client 12 on a remote computer. See 13 FLIR Client 12 for PC / Mac for details.
To login using the DDNS address:
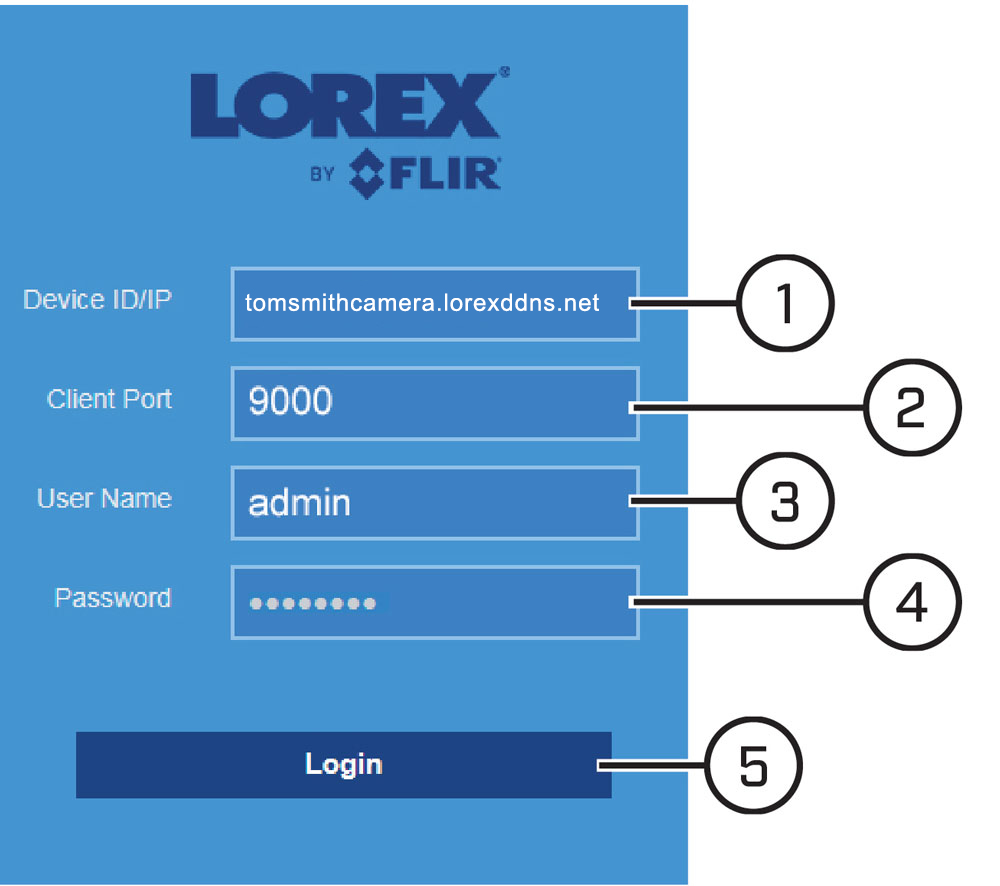
- Enter the DDNS address of the DVR (for example, tomsmithcamera.loreddns.net).
- Enter the Client Port (default: 9000).
- Enter the User Name for the account you wish to log in using (default: admin).
- Enter the Password for the account you wish to log in using.
- Click Login.